

- About personal feeds
- Creating a new personal feed
- Creating a new post (item) for a personal feed (AI Assistants)
- Add items to a personal feed
- Edit posts (items) in the personal feed
- How to use personal feeds
About Personal Feeds

Personal feeds are content feeds that consist of posts composed manually and/or items added from other content feeds.
Personal feeds allow you to implement a semi-automated method of content sharing. Only selected items added to your personal feed will be posted out. They also allow you to compose your own original content and edit content pulled from other feeds.
Finally, personal feeds can serve as your collections of targeted content on various topics. They can be easily utilized not only within Feedigy but also externally in other tools and services, while still being conveniently managed from your Feedigy account.
To be able to create and use personal feeds you need to sign up for any of Feedigy membership plans.
The number of personal feeds is limited according to your Feedigy membership plan.
Please note: you can add up to 500 posts to your personal feed; however, only the 50 most recent posts will be visible. You can manipulate a post's date to make it visible, or you can remove deprecated posts to free up room for fresh content.
^ to the top
Creating personal feed
If you already have a Feedigy account, you need to press Personal feeds in the left navigation sidebar and select an option to create a new feed or to wrtite a new post:
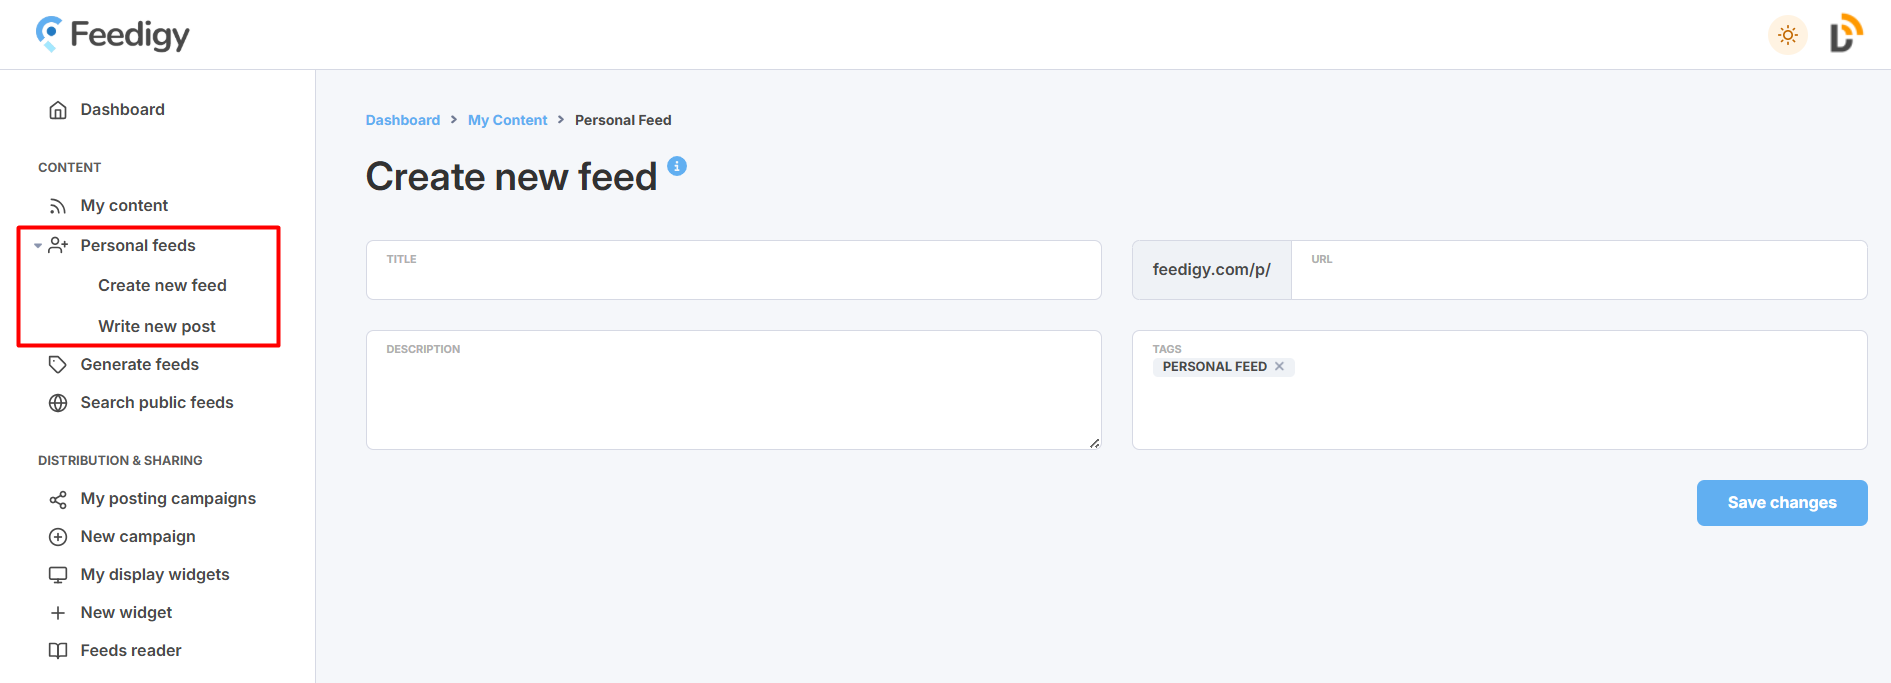
In the Personal feed editor, you need to specify feed's title, description (optional), feed's URL slug, and tags (optional).
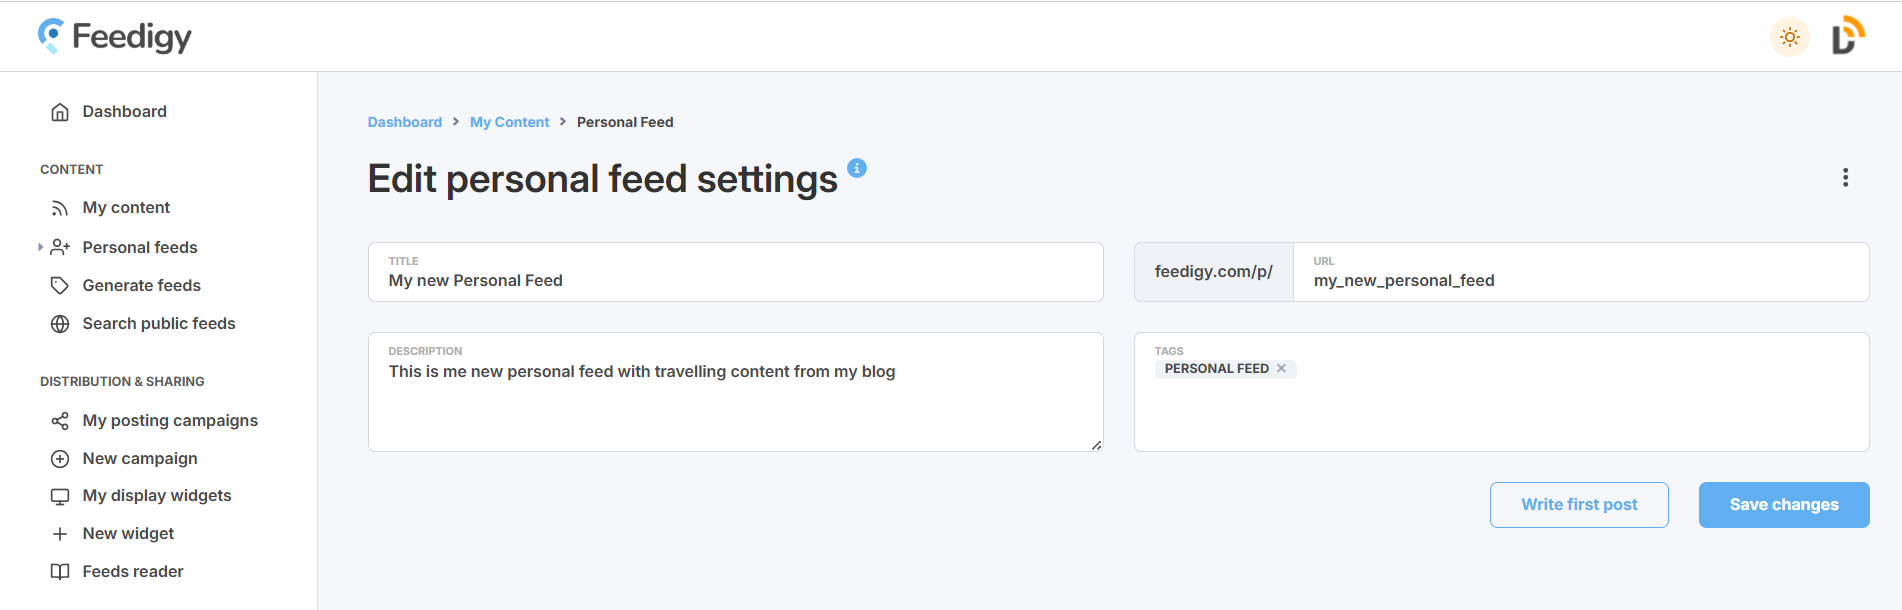
The feed's title and description will be used as the RSS channel metadata. The URL slug allows you to customize your feed's URL. This must be a unique slug that is not taken by other users.
Press Save changes to create your personal feed. It will be automatically added to the My content vault.Press Write first post to start filling your feed with content.
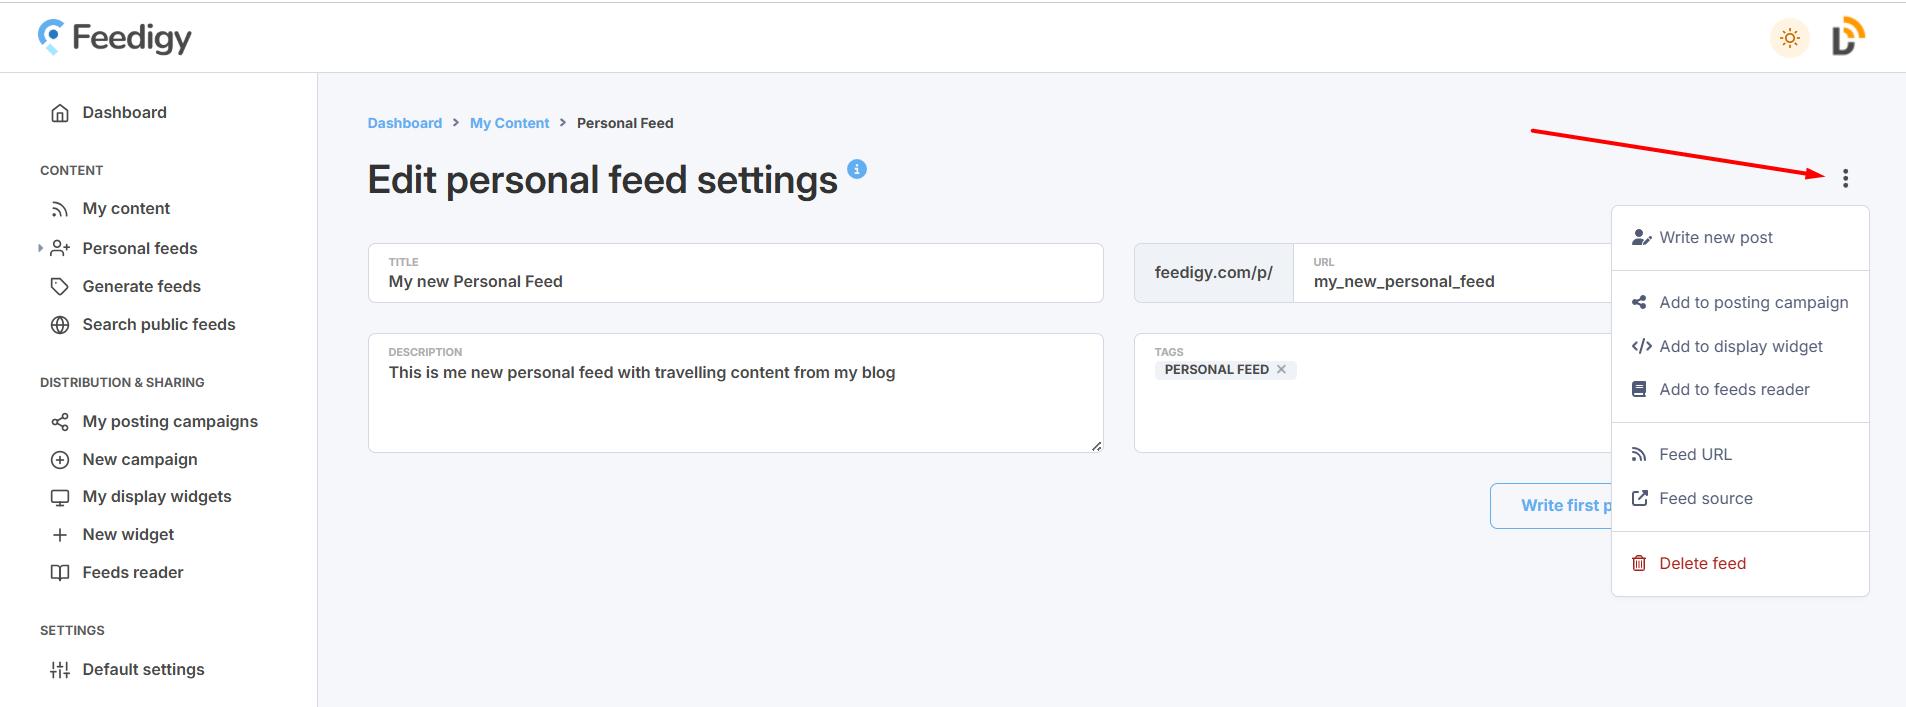
Your personal feed can be immediately added to any posting campaign, display widget, or feeds reader. Click on three dots icon to choose an action:
^ to the top
Creating a new post (item) for a personal feed
There are several ways to start composing a new post (item) for a personal feed.
You can find the Write new post option in the left navigation sidebar or in the Add content drop-down in My content section:

Another way is to find your personal feed in My content, and click on the three dots icon. You will also find the Write new post option there.

In the Write new post editor, specify your post title and description.
AI Assistant.
You can use AI Assistant to help you with your post's title, description tags and images.The default AI models are sufficient for most use cases, and they are free to use for all paid accounts. However, if you decide to try a different model, or if you are a Free Basic account user, you will need to register for and use your own API key:
Google Gemini (Terms | API Key | Pricing)
OpenAI ChatGPT (Terms | API Key | Pricing)
DeepSeek (Terms | API Key | Pricing)
Anthropic Claude (Terms | API Key | Pricing)
Please be aware that AI platforms may use your data for training or services improving purposes. If you are concerned about the high degree of data privacy, then we recommend turning off model training in your AI platform account settings.
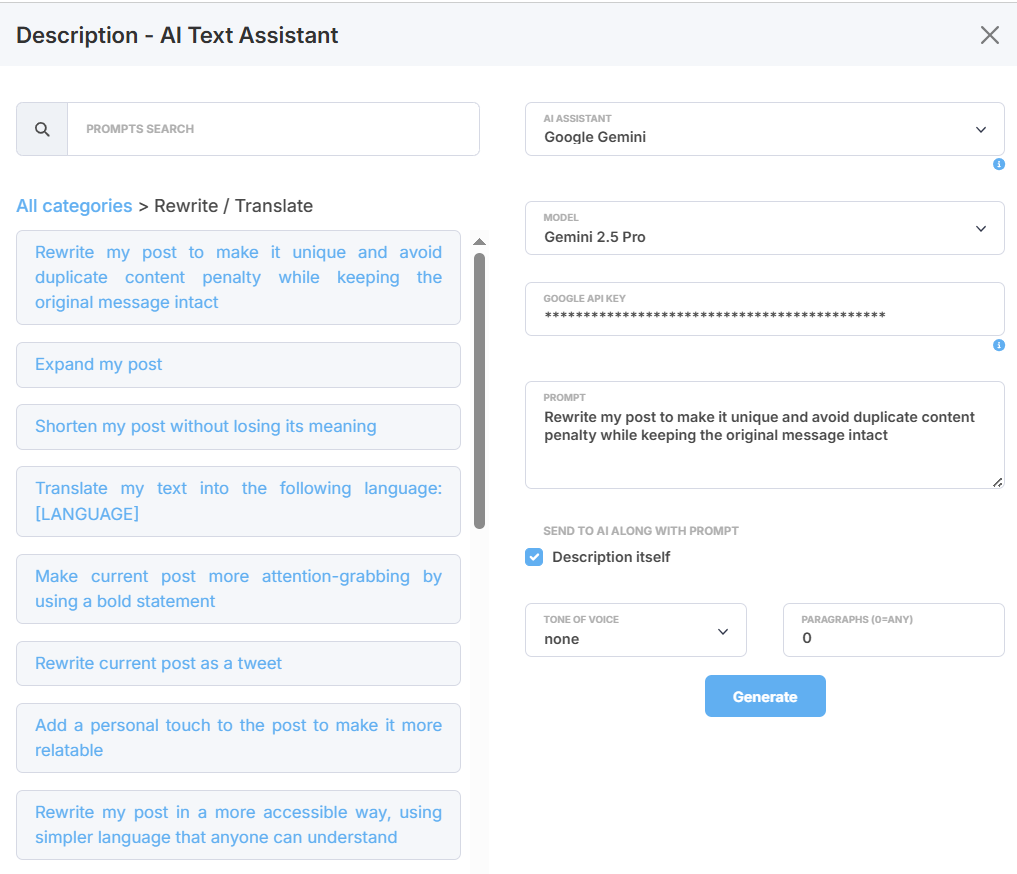
 Click on the "magic wand" icon to open slide-out sidebar and set up your AI assistant.
To interact with AI you use prompts. Prompt is the detailed instruction that you send to AI in the process of interacting. Your prompt has a big influence on the quality of outputs you receive. More descriptive prompts can improve the quality of the outputs.
To give you a hand, we have prepared a list of the most relevant prompts, depending on the post element (title, description, tags, images) you work with. You can see them in the Prompts library section.
Read more about AI assistant in personal feeds
Once your post's content is prepared, you can use basic formatting to fine-tune it, as well as add links, videos, and tables. You can also take advantage of the Voice-to-text and Spellcheck options.
You can add your own HTML, but please be aware that we do not allow JavaScript.
You can upload your own images to accompany your text.
Limitations: The maximum file size is 3MB. Supported formats are JPG, JPEG, SVG, PNG, GIF, APNG, WEBP, and AVIF.
Alternatively, you can add free stock images provided by Unsplash. Click on the Unsplash icon to search for images.
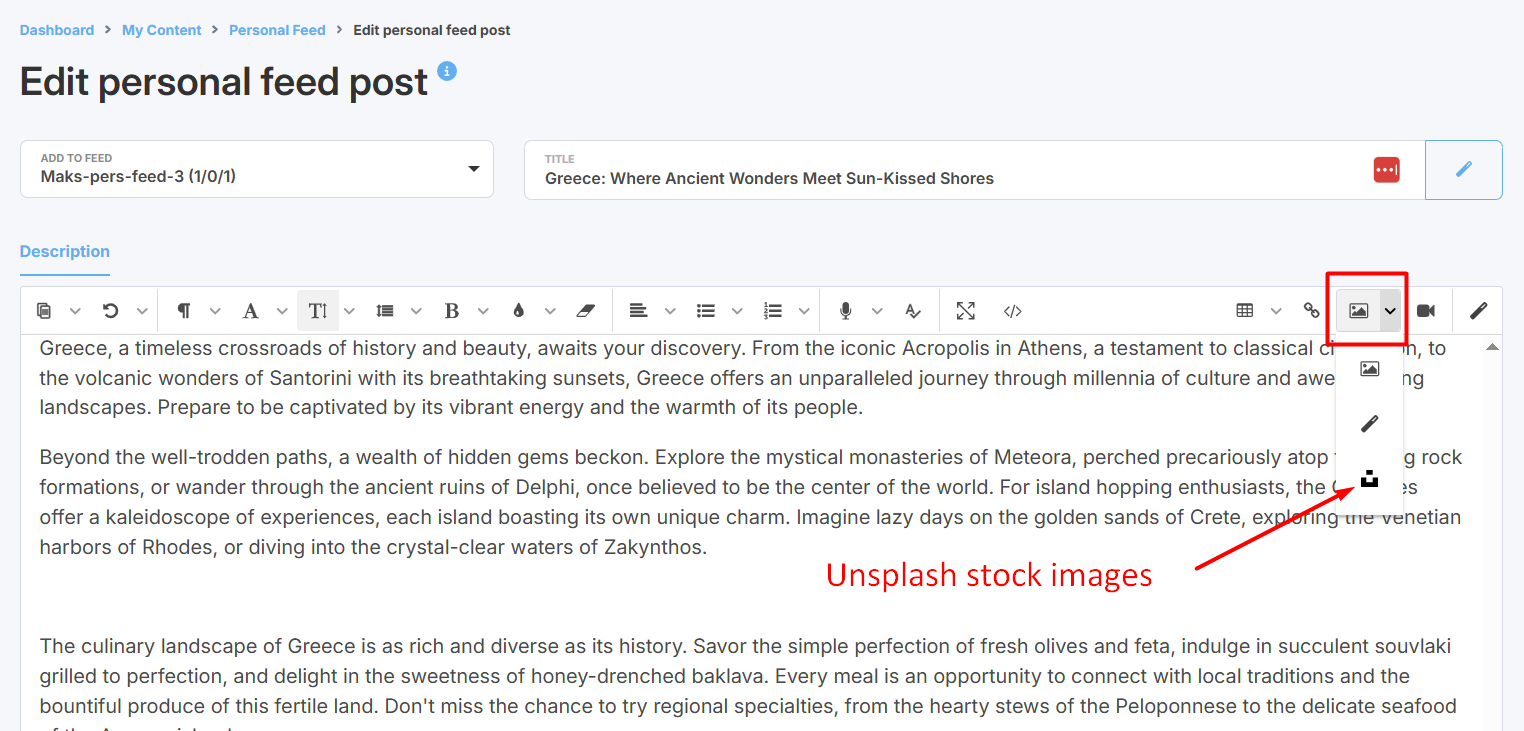
Click on the Unsplash icon to search for images:
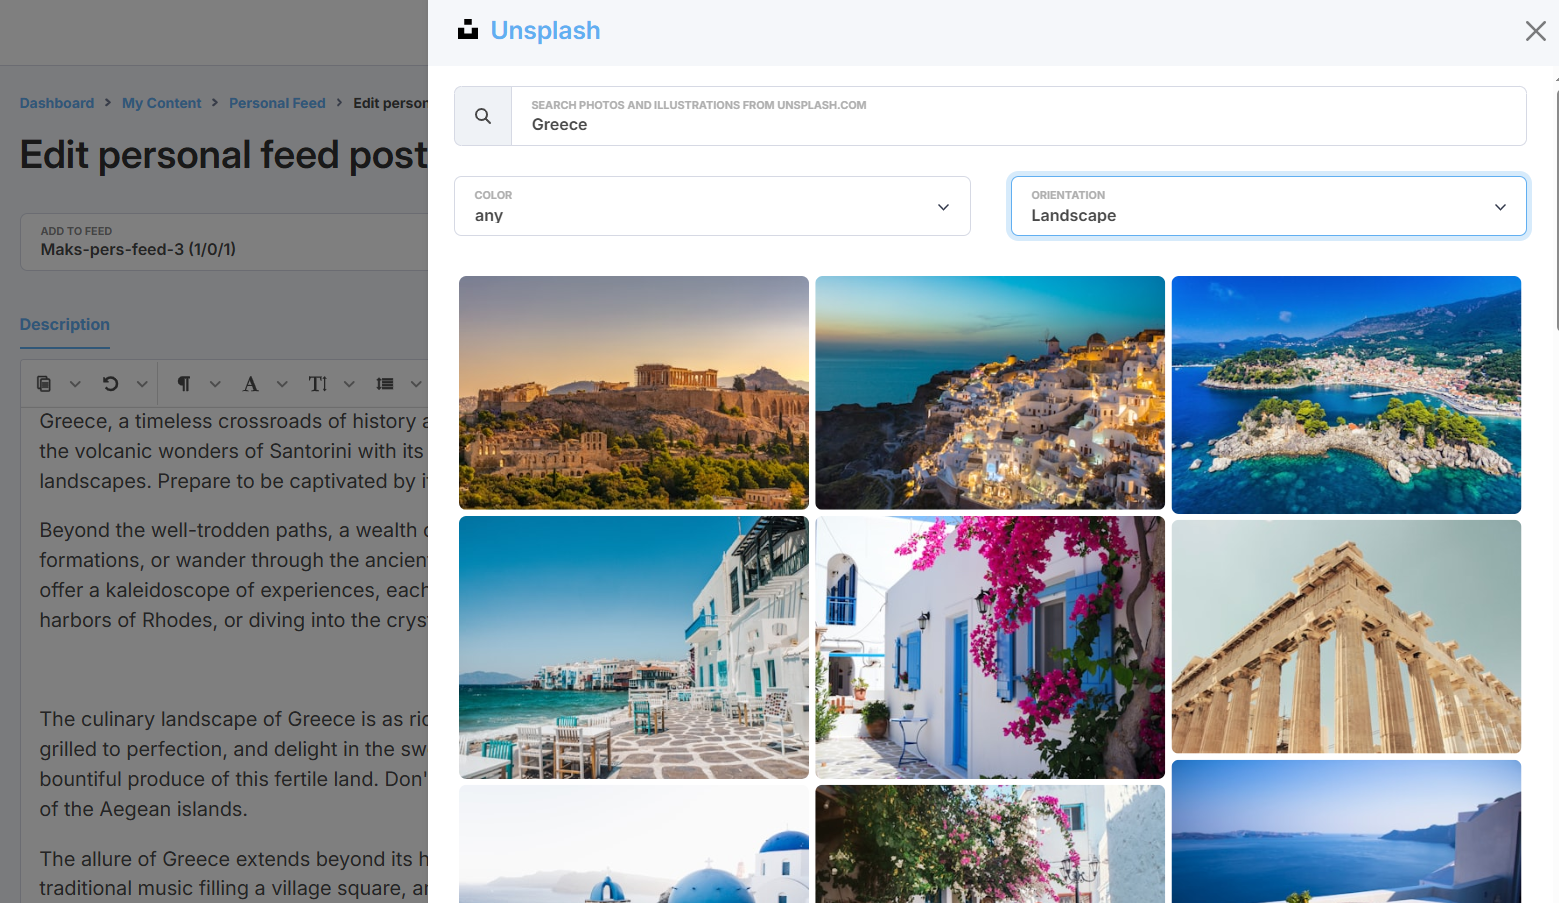
You can specify your search keyword, preferred color and image orientation.
Select your image and press Insert.
To edit your image (e.g., to change its size, add margins, or insert alt text), click on the image and then click the Edit icon:

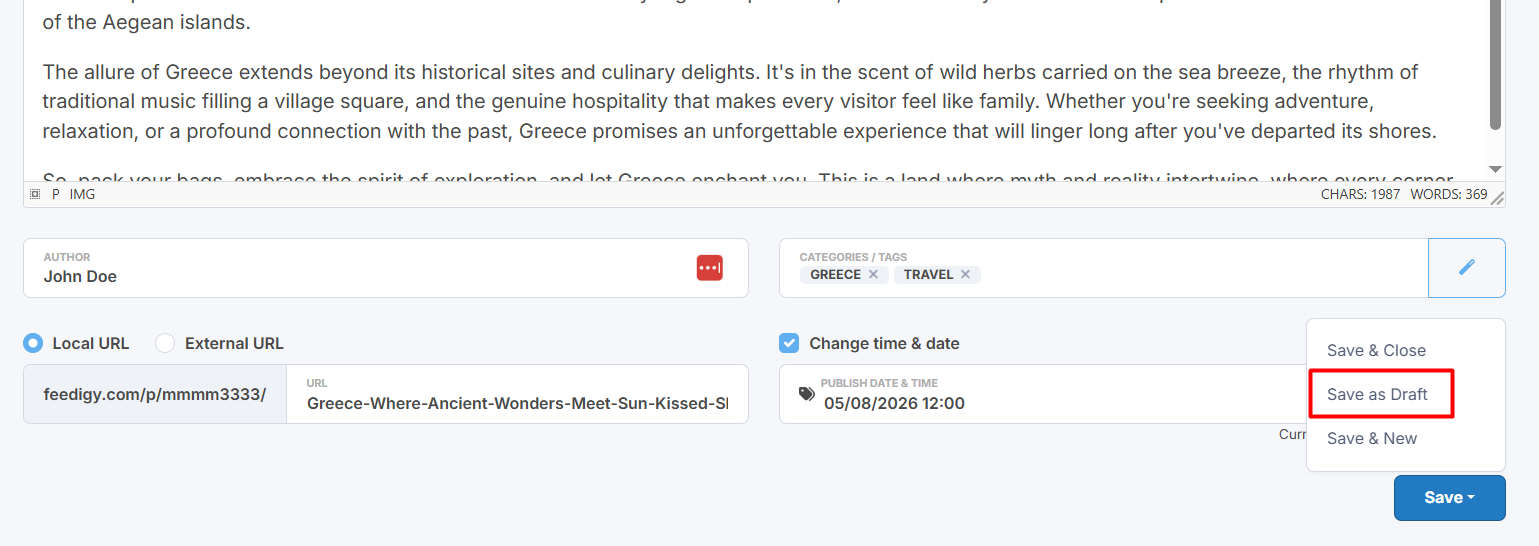
Now that the post content is ready, you need to specify your post Author, Categories/Tags and link.
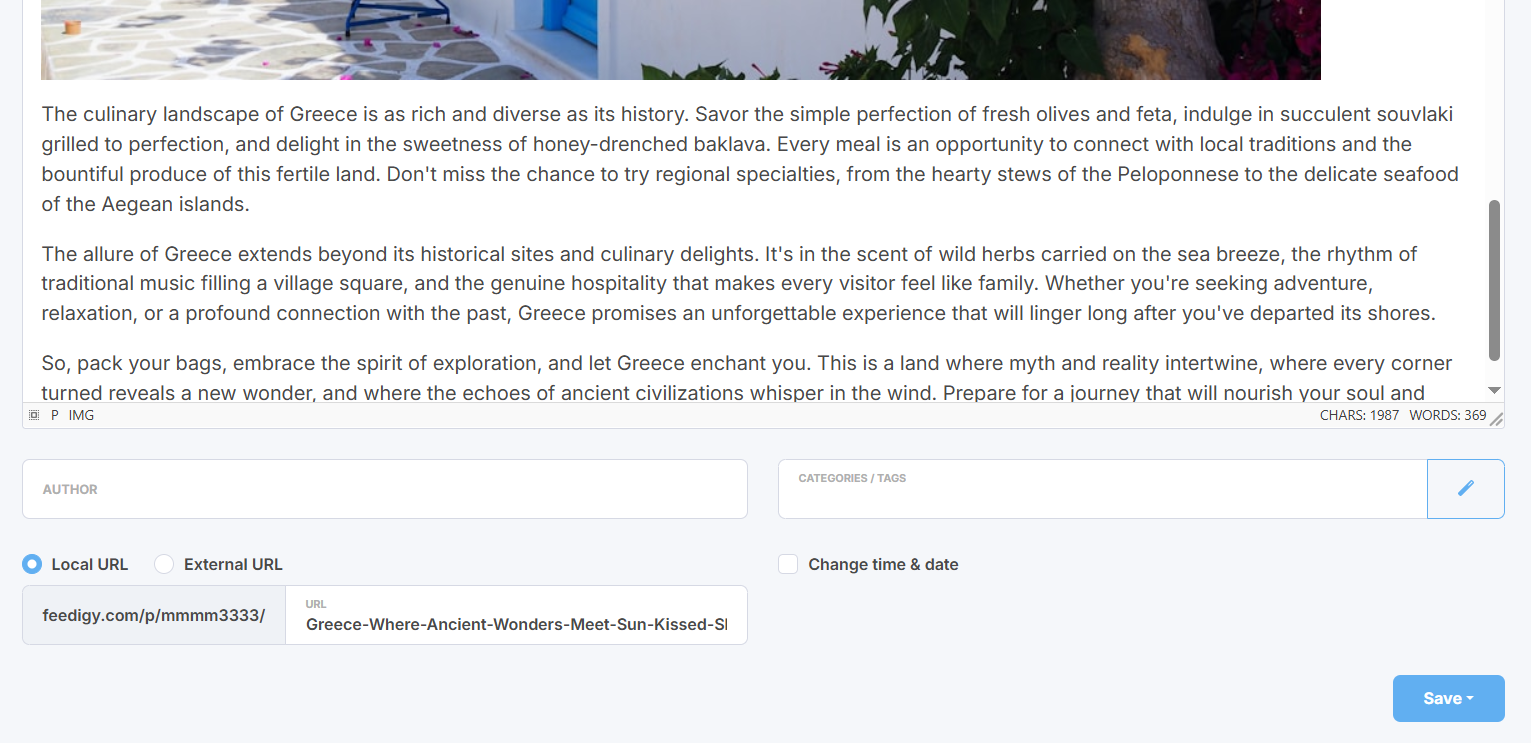
Author. You can specify the author of your post. RSS specifications require the author field to be in a specific format: either an email address or an email address accompanied by the author's name (e.g., [email protected] (Author's Name)). Otherwise, the feed will not pass validation in RSS feed validators. If you do not need your personal feed to be strictly valid, you do not have to follow this format.
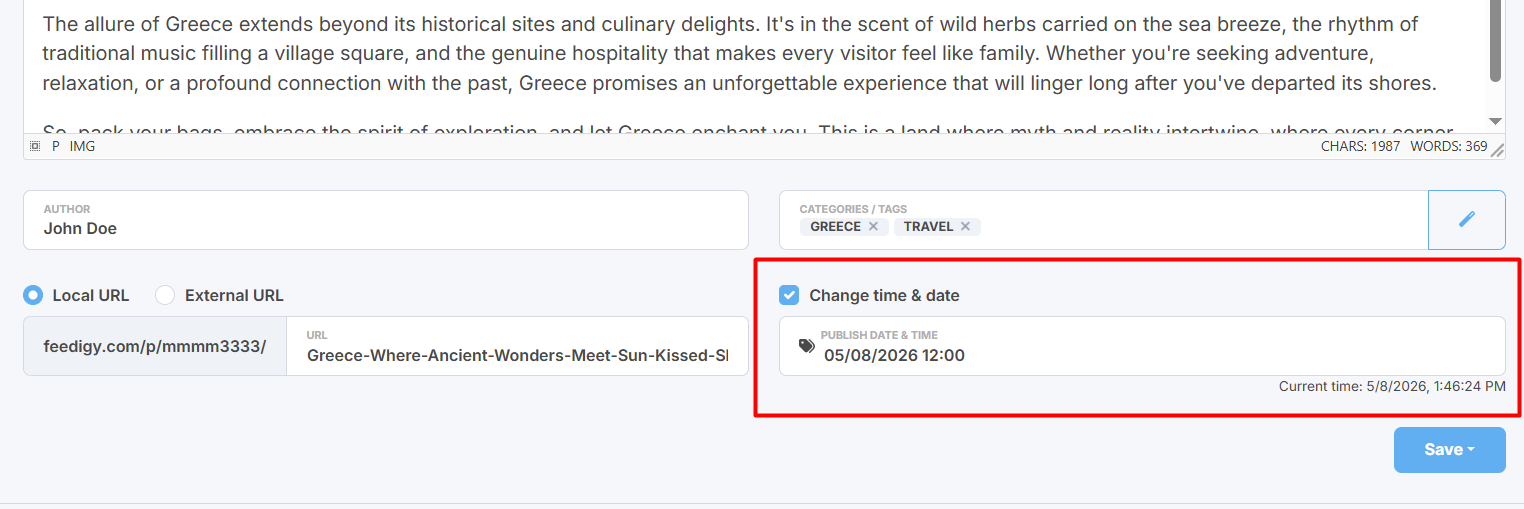
Categories / Tags. You can apply specific tags to your personal feed posts. These tags will be saved in the feed item under the <category> tag. Once again, you can use the AI Assistant to generate a list of relevant tags. Yet again, you can use AI Assistant to create a list of tags. Read more about AI assistant in personal feeds
Note: Author and Tags will be visible in feed’s preview.
Each personal feed post (item) has two types of links: local and external. A local link will lead back to the post itself when shared. An external link will take visitors to any other URL you specify. It is entirely up to you whether your post uses a local or an external link.
The current time and date will be assigned to your post by default. However, if you do not want to publish your post immediately, you can select a future time and date. The post will not be visible in the feed until that specified time. Use the Change time and date option to set a scheduled time.
Before saving your post, please make sure the right personal feed is selected in the "Add to feed" dropdown next to the post's title.
If you have not finished composing your post, you can simply save it as a draft and return to finish it later.
^ to the top
Add a new item to a personal feed
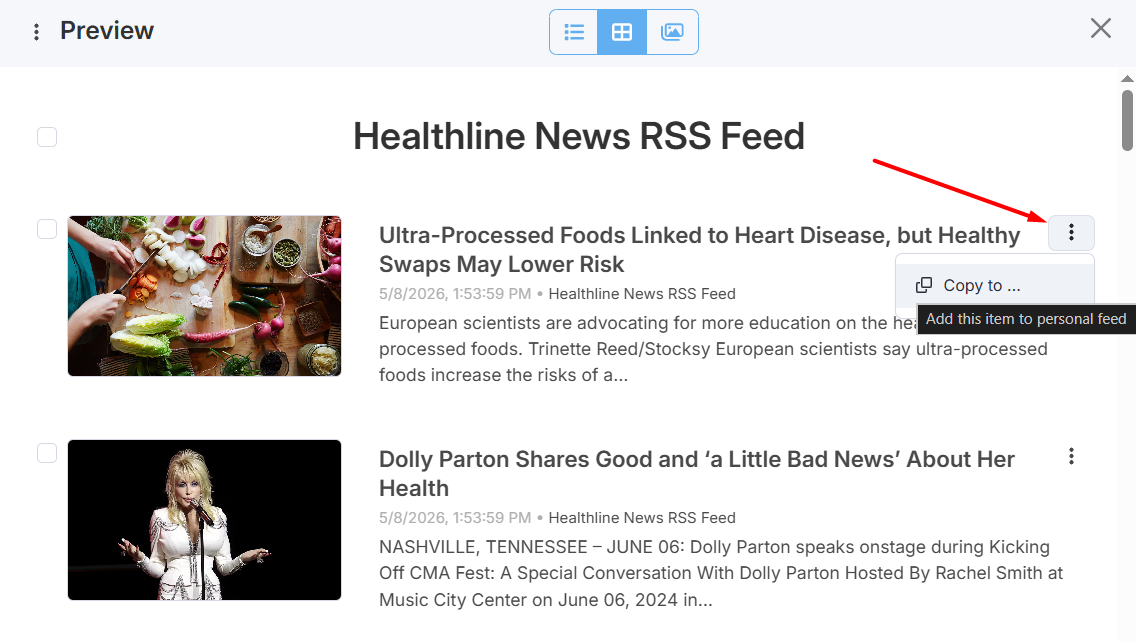
To add a new item to your personal feed, you need to go to My content and preview any feed you like:
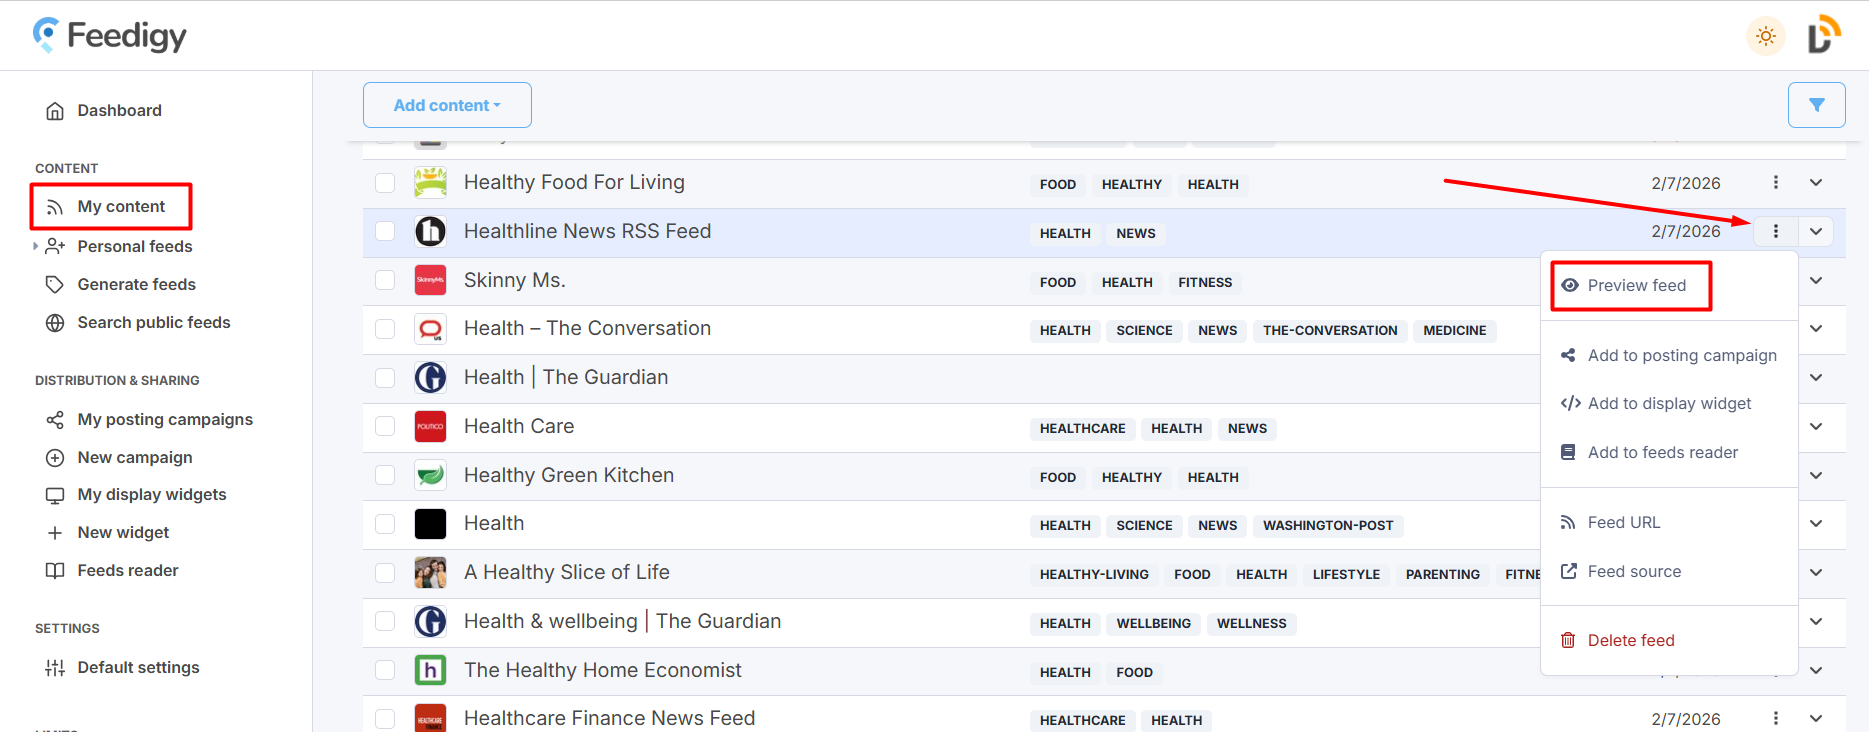
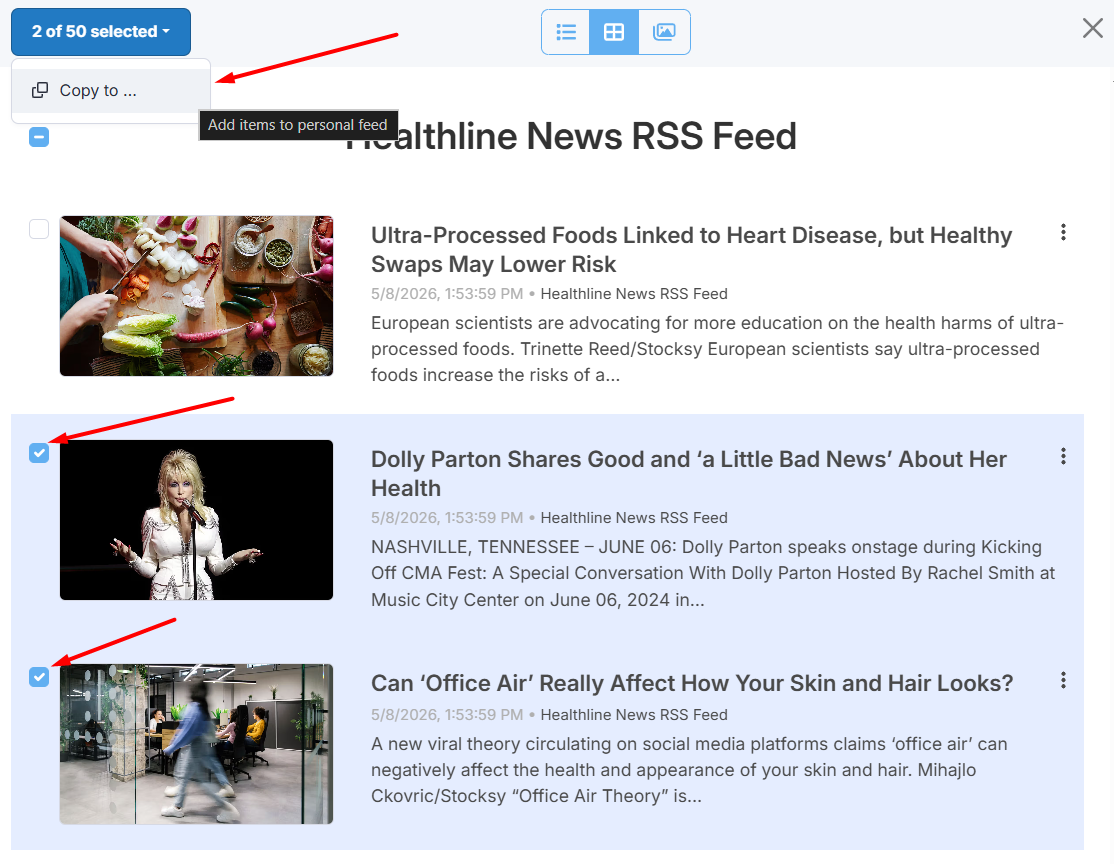
In the preview, choose any item you like and click on the three dots icon and select "Copy to":
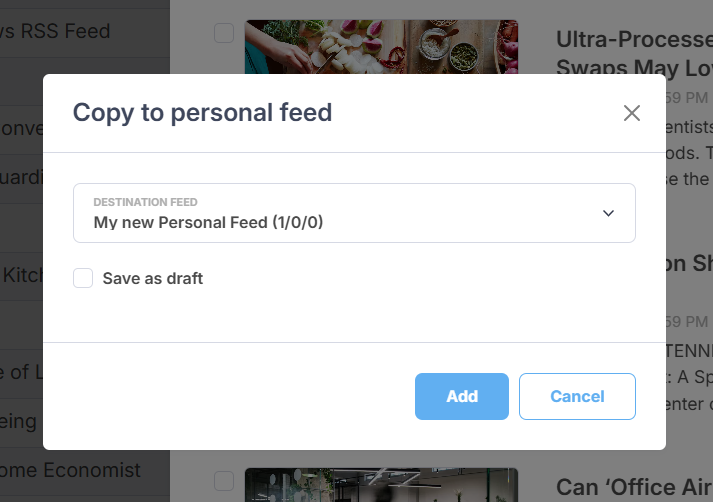
Next, select a personal feed from the dropdown menu. If you wish to save the selected item as a draft to refine it before publishing, check the "Save as draft" option. Then, press Add:
You can save several items to your personal feed at once. Select needed items and then click on the selected button and then on Copy to.
^ to the top
Edit posts (items) in the personal feed
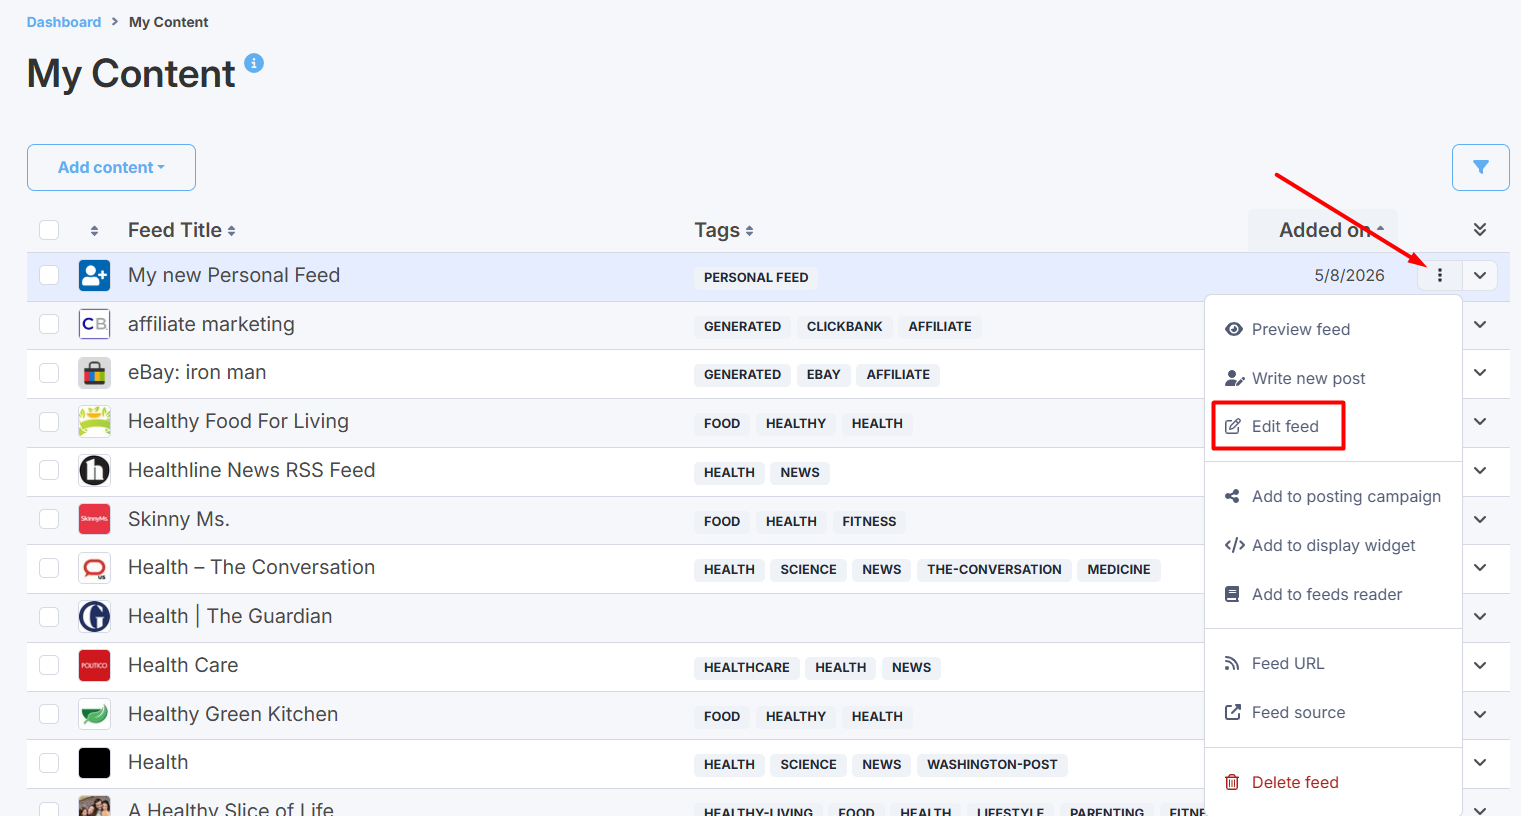
To manage all posts in your personal feed, you need to find it in My content, click on three dots icon and select the Edit feed option. You will be able to edit feed's title, URL, description, tags.
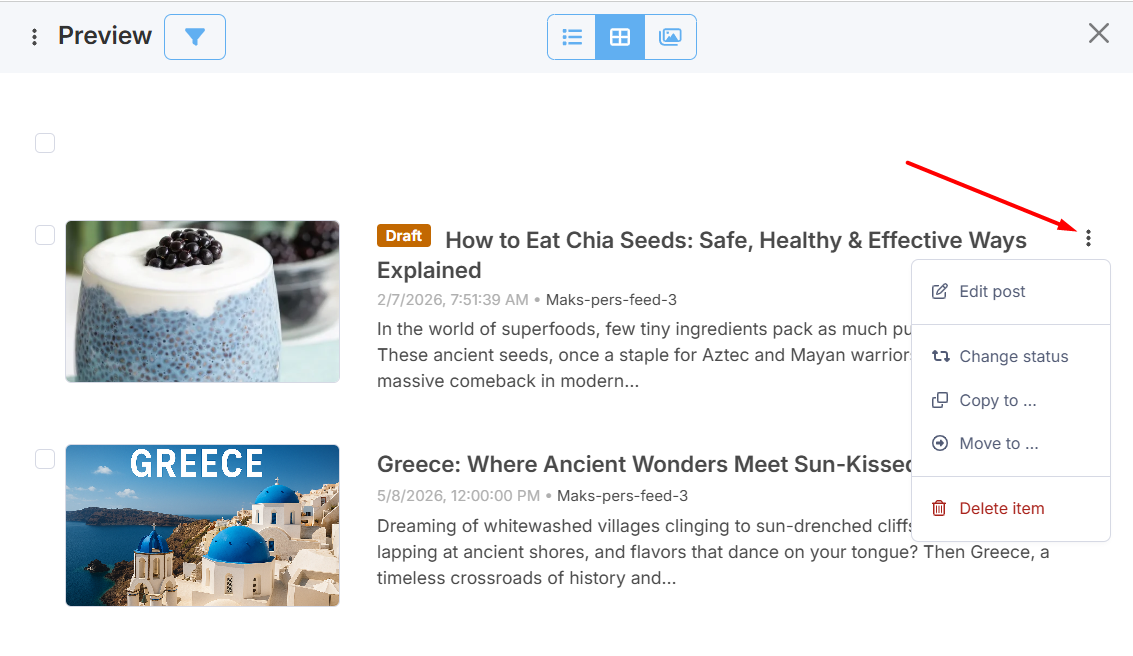
If you wish to edit a personal feed post, find the feed in My content, click on the three dots icon and select Preview feed and then select the needed personal feed post:
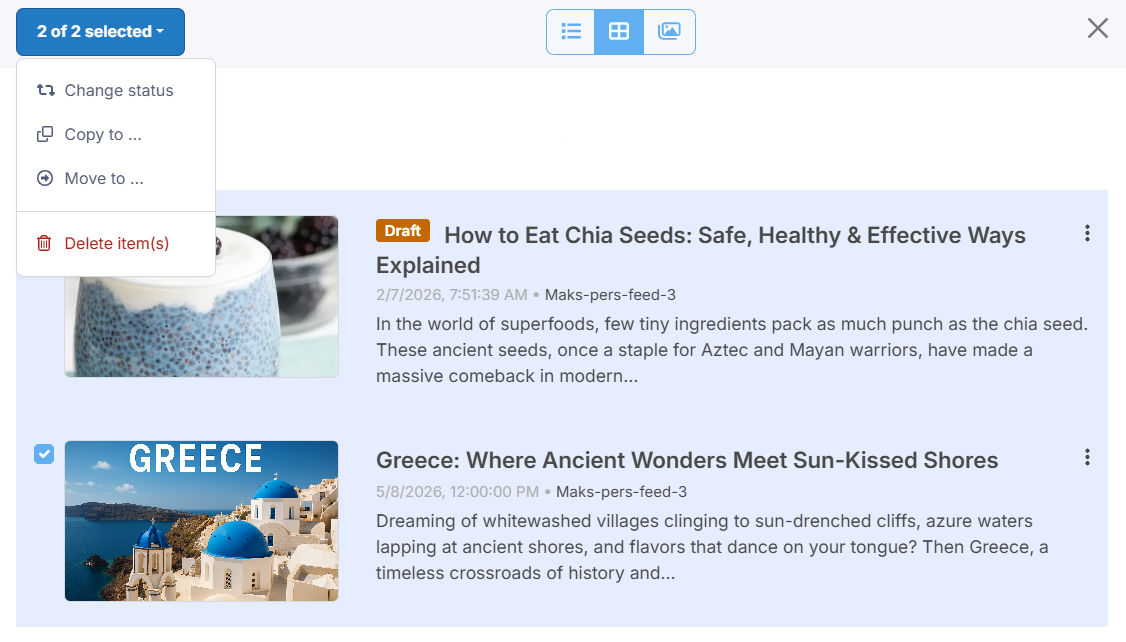
Select several posts for a bulk option.
You can use the Filter option for your convenience.
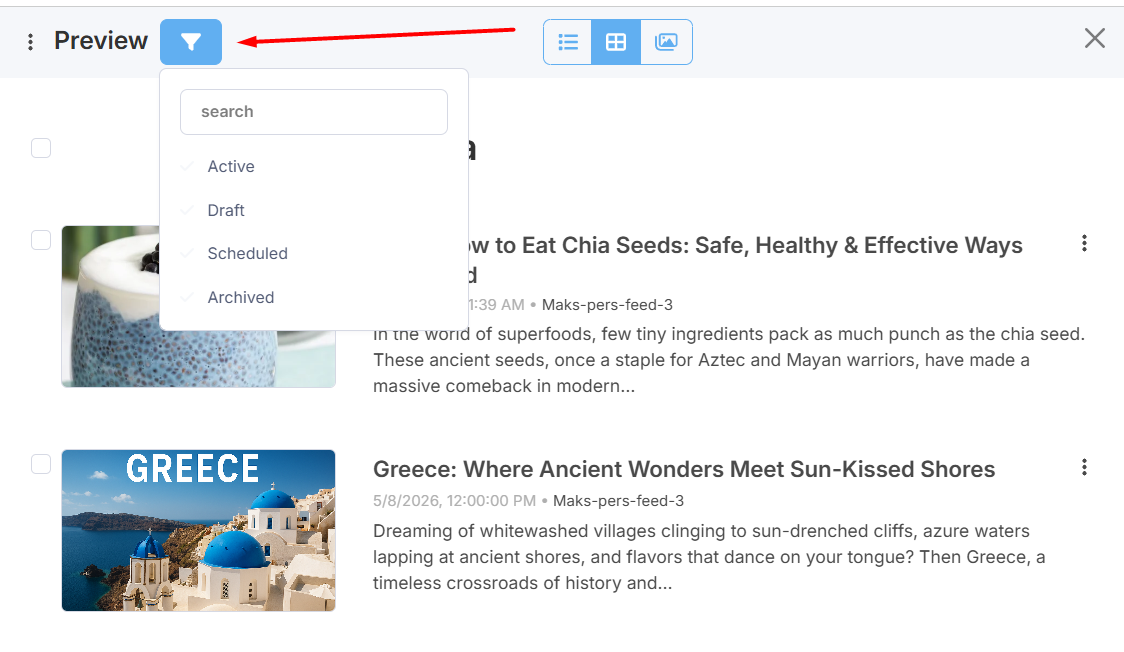
You can search posts by keywords, or filter them by status: active, draft, scheduled, archived.
Active - published posts (visible in the feed in browser).Draft - not finished posts (not visible in browser)
Scheduled - not yet published (will be visible after scheduled publish date)
Archived - published posts that exceed 50 items limit (not visible in browser)
^ to the top
How to use personal feeds
Personal feeds function exactly like regular Feedigy content feeds. You can use them in your posting campaigns (see user guide), display widgets (see user guide) or add to Feeds Reader (see user guide).
Personal feeds allow you to implement a semi-automated posting strategy. By manually selecting items for your personal feeds, you ensure that only the highest quality content is posted to your social accounts or blogs.
You can use your personal feeds for content sharing or content collection with a help of one of the automation platforms (IFTTT, Zapier, Pabbly Connect) (see user guide)
You can use the advanced filter option in Feeds Reader to automate the process of content collecting (see user guide).
You can create separate personal feeds for items from specific content sources, or on specific topics, or dedicated for specific posting campaigns.
Importantly, content will remain saved in your personal feeds even if the original feed that provided the content is deleted from My content vault or Feeds Reader.
^ to the top